Description

Live Chat: Discord.
Get the latest builds: Patreon.
Get Mods here: Reddit.
Public Version for Heroine Rescue Team (v0.51): Here.
Download for Heroine Rumble is at the Heroine Rumble page.

Monday, January 29, 2018

Equipment Window


Implement an equipment window. With this window you can drag and drop to equip/unequip items. Double clicking works as well. This also mean a couple of changes:

  • Items will actually be transferred over when they are equipped
  • It is now possible to customize the equipment of your allies as well
So this is what your inventory looks like at the start now:


You can control the outfit on your companions as well:


Also, here is a preview of the downed state with some cheats on. The downed pose is based on how the character fall. There is also another possibility when the character isn't knocked into the air. 


Thursday, January 25, 2018

Demo 3.2b public version.

Download LINK.


It seems v3.2 is pretty stable, and I know there are some of you want to try the demo out, so here it is.

Notes: No lewds in game yet. Still missing several core features. Not even an alpha, so not worthy of a name. For enthusiasts only. 

Saturday, January 20, 2018

Demo v3.2

Demo v3.2 is now available on Patreon!


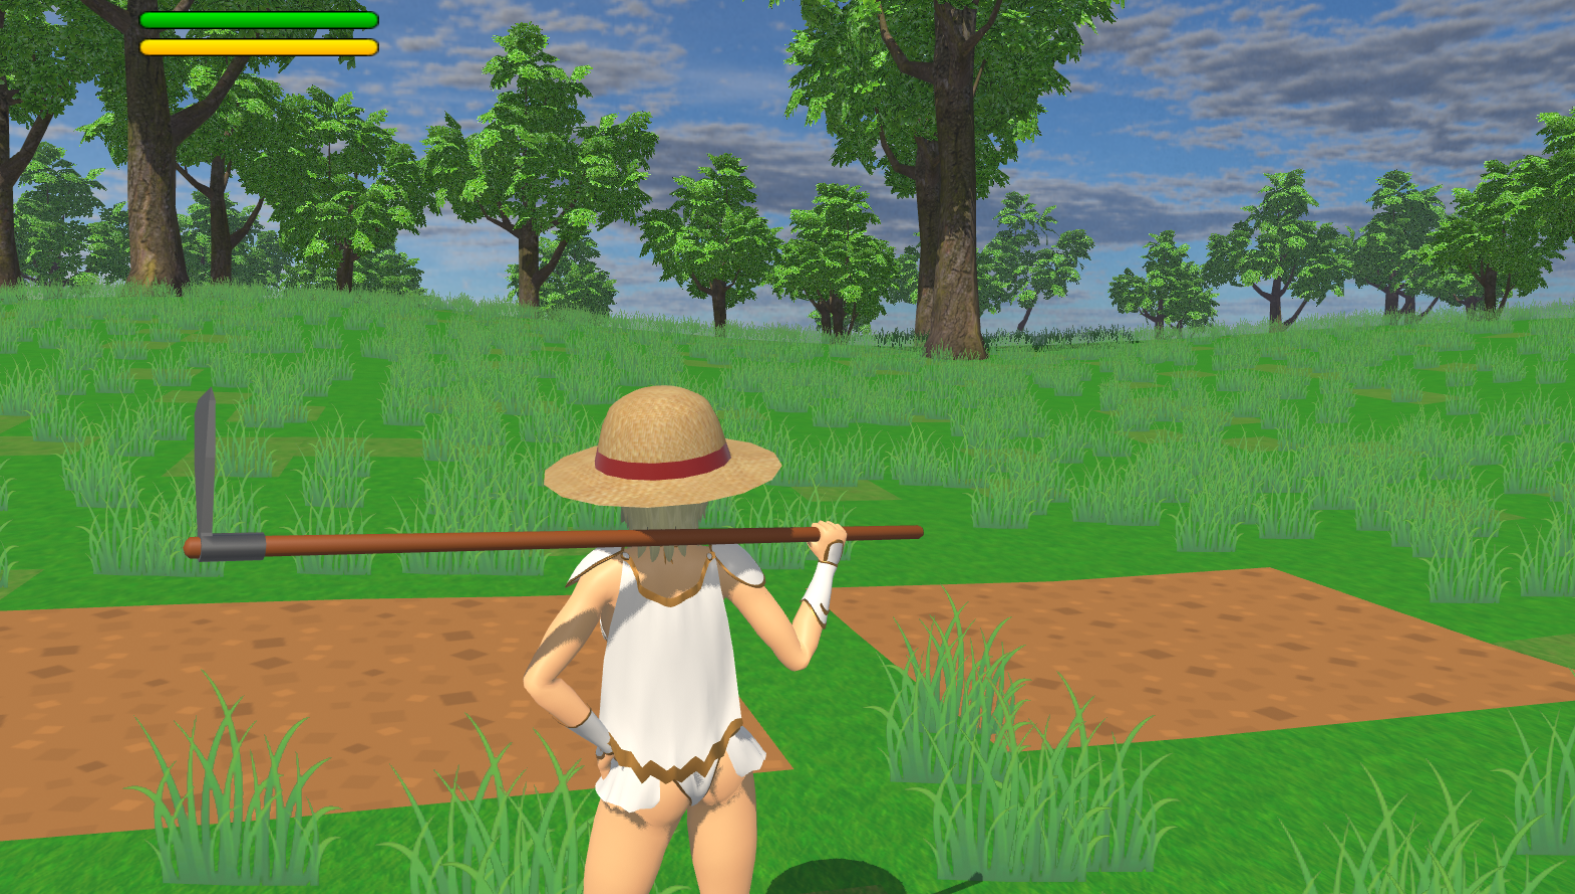
Featured in the picture is another outfit designed by Judasilfarion. She makes her appearance as the "boss" of the fighters floor. Her outfit, along with her giant fist weapon, are available as drops when she is defeated.


I haven't actually done everything I wanted yet under version 3, before moving onto version 4. Version 4 will start to get into the "meat of the game," *wink wink, nudge nudge*. So there will be another build on version 3, probably sometime around mid Feb.

Some highlights of this build are:

  • Unarmed moveset
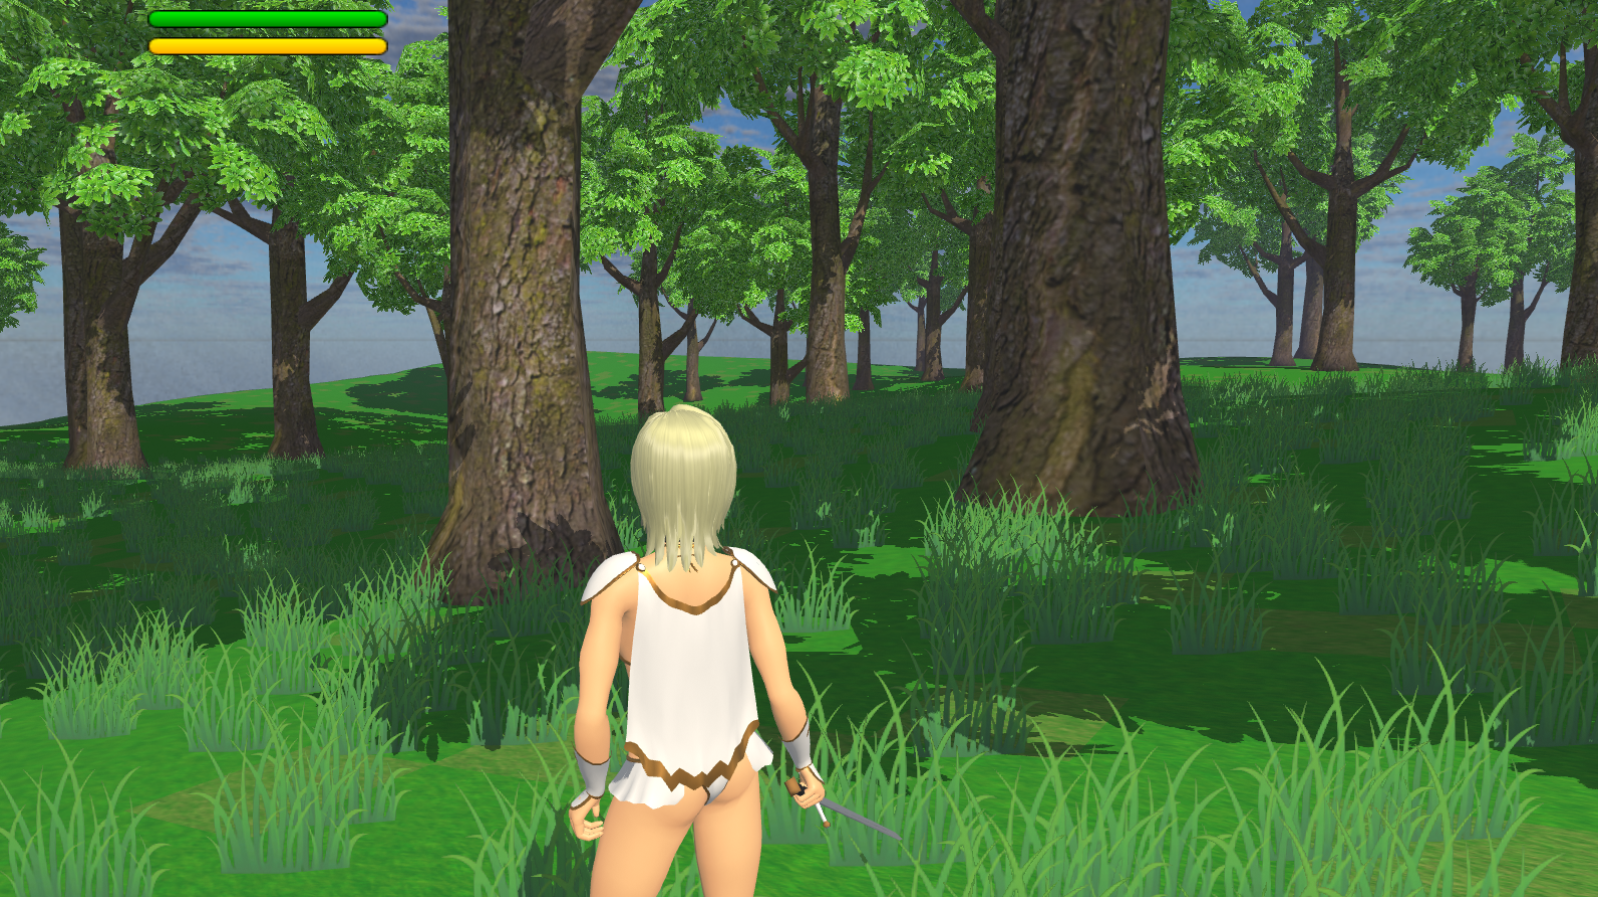
  • 2 additional outfits
  • Quickbar/hotkeys
  • Farming
  • Day and Night Cycle
  • And More! Refer to the previous posts for details
More importantly, and one of the reasons why I want to release the build now, is because I decided to change how the item coloring system works. It used to be that color customization data is tied per character, like the "color groups" in HR. So if you equip an item, it's color is dependent on who wears it. Instead, I want to change it so that the color information is tied per item, and an red item will stay red, regardless of the wearer. And yes, there will be ways to modify the color on the item. 

Anyways, the reason I mention it is because it requires internal changes. Hence, possible bugs may prop up and I want to get people to test it ASAP. Make sure to report any oddities with items and equipment!

Also received a lot of good suggestions, and in fact, I plan to implement some of them. However, the topmost priority are currently, A) the lewds and B) save/load functionality. So many of those ideas will have to be done "later." But do keep them coming, because who knows? It just might make it to the game (in time).


Friday, January 19, 2018

Fighter's Set


Since there is now an unarmed moveset, it only makes sense to have a new outfit to go with it. Special thanks to Judasilfarion for helping out in the creation of this set!

Back view:

Of course, as with all other outfits, the pieces are interchangeable:


Wednesday, January 17, 2018

Quick Bar


Implemented a quick bar/hot keys. You can pick and choose which item/command/consumable to put on there for instant access:


(The colors are screwed up due to the gif format...)

The entire thing is operated via drag and drop. Open up the inventory window and:


There is a caveat tho. Because there isn't a window yet to drag the "commands" and "specials" from, the first 3 slots are currently locked. They are "Allies-Attack!", "Allies-Follow" and "Fist/Unarmed." The ally commands are the same ones as the current demo. Originally I thought perhaps the item on the quick bar could be like a toggle, so pressing the hotkey would switch between equipping/unequipping that particular item. However, with some testing, I found that having a separate hotkey for unarmed is much cleaner.

Saturday, January 13, 2018

Farming, Part II.


Got a lot of work done on farming. Here is some demos (and also as explanation) of how farming works:

The controls for farming is simple: face the desired tile/crop and then press the interact button (default: E) while having the appropriate tool equipped.

The first tool to showcase is the hoe. It allows the transformation of grass tiles into dirt/soil.


Next up, equip the seeds and plant them:


Crops in this game need to be tended. Right now, the only requirement is water. Equip the watering can and it can water the crops:


And that's it! Wait until the next cycle (day) and the plants will grow:


When the crops are fully grown, unequip your tool/weapon and you can harvest it:


Here is what the harvesting animation looks like:


This gif is taken before the crop randomization changes and it does suffer from the "clones syndrome" quite a bit.

With some slight randomization, that "clone syndrome" is less obvious:


There are still a couple things to be done but I am quite happy that the "basics" for farming is now functional.

Thursday, January 11, 2018

Unarmed Moveset


I want the "harvest" option to pop up when the player is looking at a fully grown crop while empty handed. That requires the ability for the player to unequip their weapon (something they can not do before). And if I am going to implement that, might as well add an unarmed moveset to the game as well. So here it is.

As for farming, most of the features are working now, but still lacking animations. It shouldn't take very long to finish the farming feature from now.

Friday, January 5, 2018

Farming, Ranching, Breeding; the beginning.


I don't know how much people paid attention or remember that this game will have monster girls and the breeding of them. It certainly isn't a game that will be 100% focused on combat, (even though a lewd dungeon crawler isn't a bad idea at all). It was just that 1) there is a lot of concepts that can be transferred over from HR and 2) combat is a nice way to "stress test" various game systems to expose bugs and issues.

Anyways, the first stage is farming/planting. Farming gives you the option to plant and grow crops for 1) sale, 2) food for mongirls, (gotta keep them happy and fed so they have more energy for... other activities, and 3) potential ingredients for crafting.

Farming is a simple procedure. You find an eligible tile (such as dirt) and you plant seeds. At the end of each cycle, as long as the tile is watered, the plant will grow. When the plant is fully grown, you can then harvest it. The tile is then freed for the next cycle of plants.

For now, there are 3 different actions that the player can take:
a) using a hoe, the player can convert an eligible tile (such as grass) into soil/dirt.
b) using seeds, the player can plant a crop at an eligible tile (such as dirt)
c) using the watering can, the player can water a tile

Here is a simple demonstration of the hoe in action:


Here are the different growing stages for the first crop:


Currently still working on b) and c). There are also a couple more "farming" tools that isn't utilized atm but they might have other uses:


Monday, January 1, 2018

Shadows, part II


Happy new years and hope everyone had a good holiday.

I have been working on the shadows on and off during the last couple of days and there is now a huge improvement over the existing shadowing system.

-------- WARNING: somewhat technical stuff below -------

In my previous post, I demonstrated the difficulty in picking an appropriate shadow map size to fit the scene. A small shadow map gives nicer shadows but the shadow is only visible in a limited distance. A large shadow map covers the entire scene but the shadows are super low quality.


Fortunately, the solution is rather simple (in theory). Rather than using only one shadow map, why not use multiple shadow maps of increasing sizes instead? Always select the smallest shadow map if possible for the best shadow quality. The largest shadow map covers the entire view frustum, and thus guaranteeing every object will be shadowed. This technique is known as Cascaded Shadow Maps for those that want to do a little more googling themselves.

And here it is, with debugging helpers enabled:


The 4 pictures at bottom left are the 4 different shadow maps used to shadow the scene.

The scene is tinted with colors to indicator which shadow map is selected for the shadow calculation. Red - smallest map, green - 2nd smallest and so on.

Here it is in action: 


All 3 pictures are taken with the same shadow setting. Compared to the single shadow map system, this new system allows for high quality shadows when viewed close up, while also shadows distant objects as well.

Getting this new shadowing system to work is extremely important, because it allows for more open areas and environments rather than just small rooms and corridors (to hide the fact that shadows had a limited range).

For example, a "forest":


When zoomed out: